CALL NOW TO GET A FREE ESTIMATE->

How to Restore Your Fence to its Original Golden Tone
Seeing your cedar or wood barrier turn gray and weathered can be disheartening. However, we want you to know that this discoloration is often just surface-level oxidation. Your property likely retains significant structural integrity beneath that dull exterior.
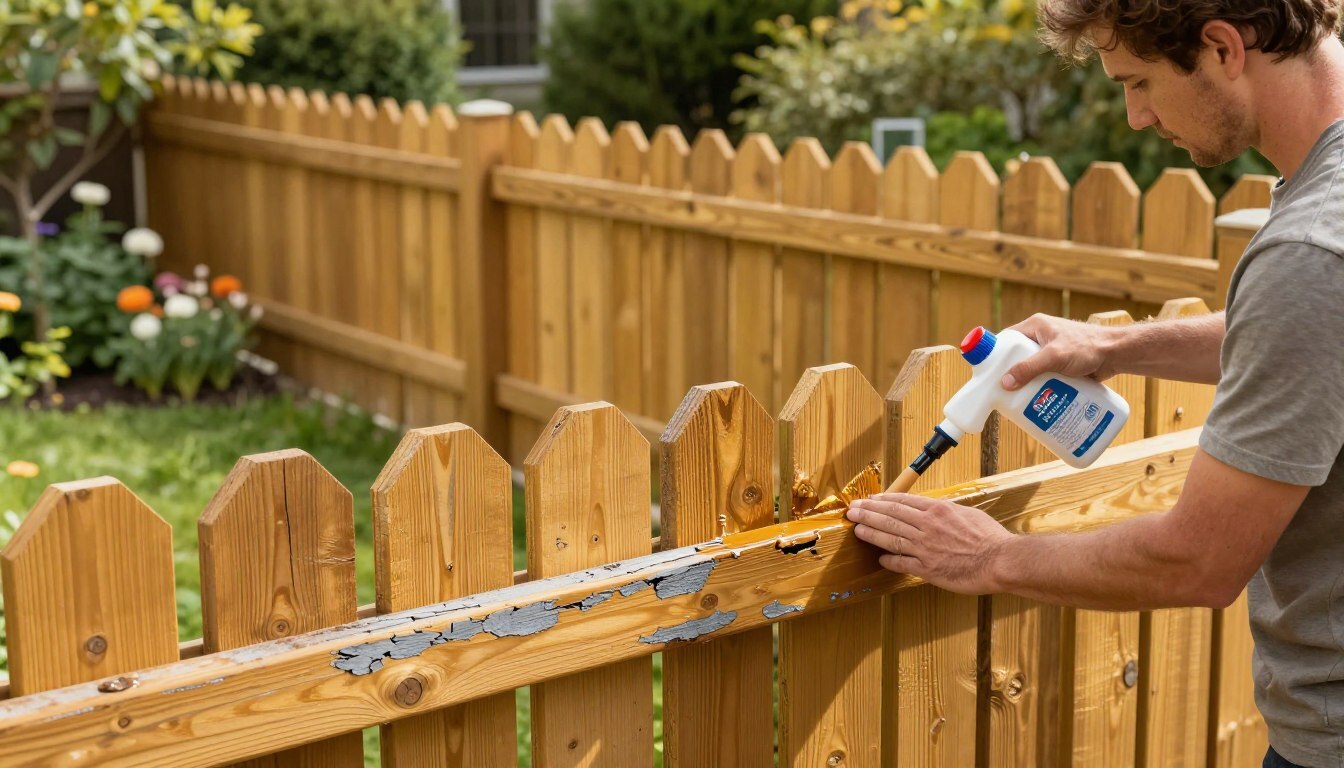
Learning how to restore your fence to its original golden tone requires more than just a quick coat of stain. We must carefully evaluate the wood, remove deep-seated contaminants, and brighten the surface to reveal the natural beauty underneath. Proper drying time is also essential before applying any protective finish.
We view your property as a long-term investment that deserves expert care. If you find the condition of your wood difficult to assess or the scope of work feels overwhelming, please reach out to us at (703) 261-8228. We are here to help you protect your home’s value with science-based, professional methods.
Key Takeaways
- Gray wood is often structurally sound and can be successfully rejuvenated.
- Effective restoration requires removing oxidation and surface contaminants first.
- Brightening the wood is a critical step to achieve that desired golden finish.
- Allowing the wood to dry completely prevents future moisture damage.
- Professional assessment ensures you avoid damaging your investment with improper techniques.
Identify Why the Fence Lost Its Golden Color
Identifying the root cause of discoloration is essential for effective wood fence care and long-term protection. We believe that a proper diagnosis prevents the use of harsh chemicals that might otherwise damage your investment. If you notice your outdoor surfaces looking tired, you might also want to check for signs your patio needs a pressure wash to ensure your entire yard remains in top condition.
Distinguish Natural Weathering From Mold, Mildew, and Algae
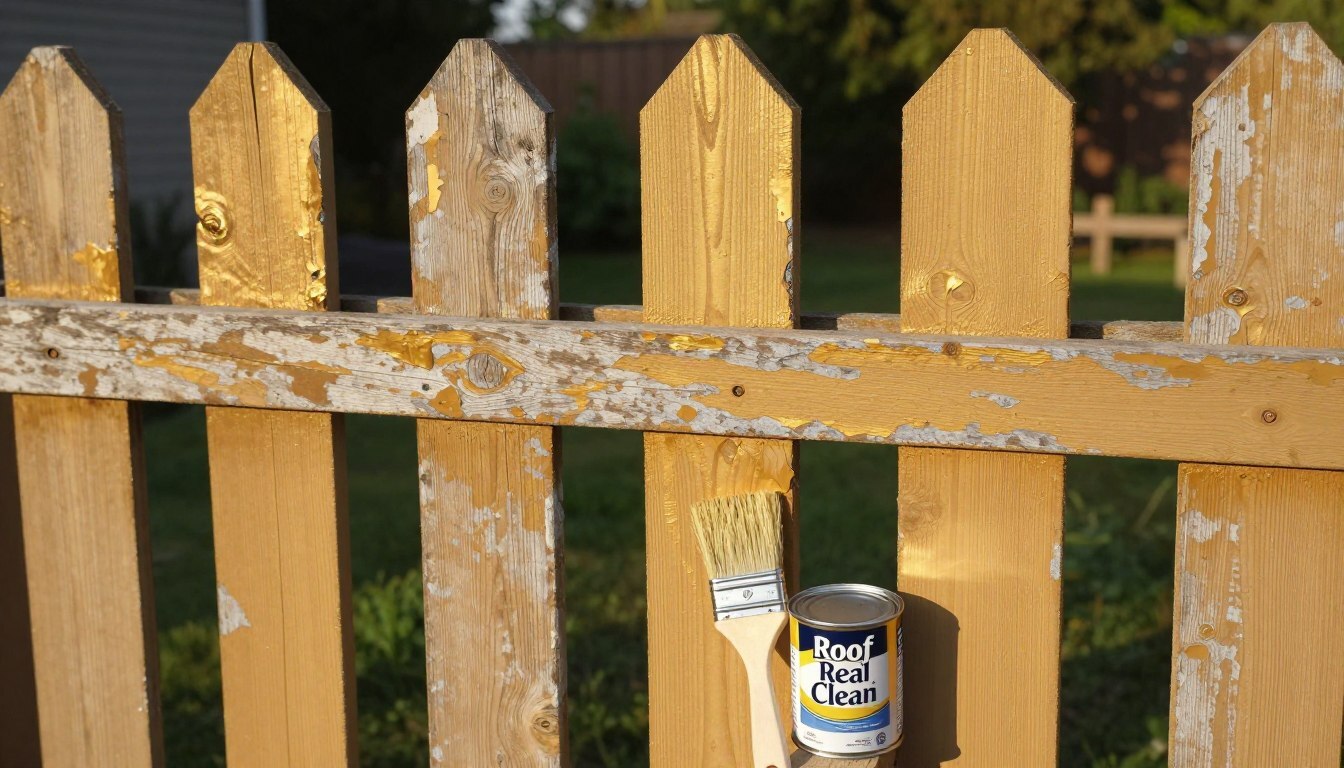
Natural weathering typically results in a uniform, silver-gray patina caused by UV exposure. In contrast, biological growth like mildew or algae often appears as dark, fuzzy, or greenish patches that feel slimy to the touch. Accurate identification is critical because cleaning agents for organic growth differ significantly from those used to brighten oxidized wood fibers.
Check for Sun Damage, Moisture Exposure, and Oxidation
Ultraviolet rays break down the lignin in wood, leading to the graying effect known as oxidation. Moisture is equally destructive, especially when it wicks up from the ground or splashes onto lower rails during heavy rain. We recommend inspecting post bases and fasteners closely, as these areas often harbor hidden moisture that leads to premature decay.
Determine Whether the Wood Is Cedar, Redwood, Pine, or Pressure-Treated Lumber
Different wood species react uniquely to cleaning and staining processes. Cedar and redwood contain natural tannins that require specific care, while pine and pressure-treated lumber often have different porosity levels. Understanding your fence material ensures that your fence restoration process uses the correct chemical balance for optimal results.
| Wood Type | Common Issues | Restoration Focus |
|---|---|---|
| Cedar/Redwood | Tannin bleeding | Brightening & UV protection |
| Pine | High porosity | Deep penetration staining |
| Pressure-Treated | Chemical residue | Thorough cleaning & drying |
Test the Fence’s Condition Before Beginning Restoration
Before you commit to a full project, perform a simple physical test on your boards. Use a screwdriver to gently probe the wood; if the tool sinks into the surface, you are likely dealing with rot rather than simple surface discoloration. If you have questions about your specific fence, feel free to reach out to us at (703) 261-8228 for professional guidance.
How to Restore Your Fence to its Original Golden Tone
We believe that knowing how to restore your fence to its original golden tone starts with managing your expectations. While professional techniques can work wonders, weathered wood often carries the marks of time that cannot be fully erased. Our goal is to bring back a warm, natural glow rather than attempting to make old boards look like brand-new lumber.
Set Realistic Color Expectations for Weathered Wood
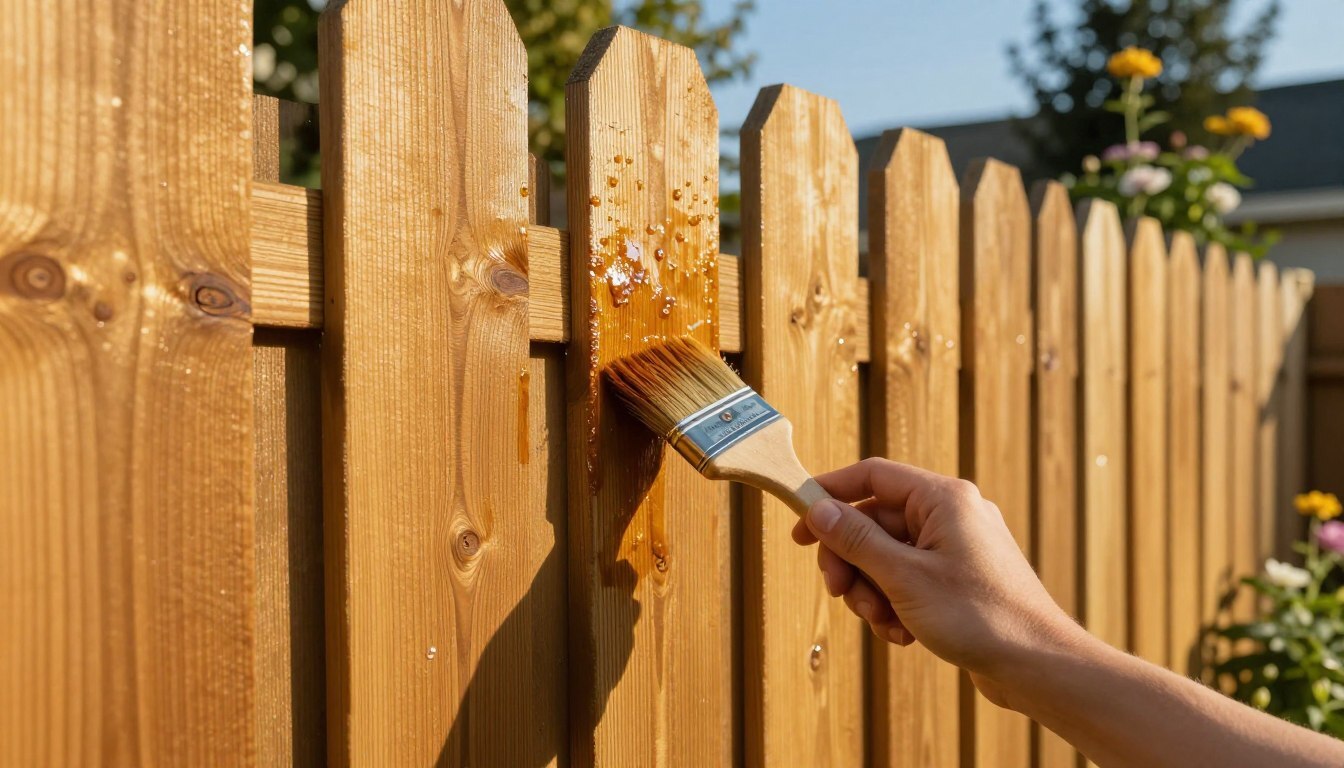
Years of ultraviolet exposure and moisture often leave wood fibers gray and brittle. You should understand that while we can revitalize the surface, the deep-seated character of the wood will remain. We focus on highlighting the natural beauty of the grain rather than masking it with heavy, opaque coatings.
Understand How Cleaning, Brightening, and Staining Work Together
Effective fence restoration is a multi-step process where each phase supports the next. Cleaning removes surface contaminants, while brightening neutralizes the pH balance of the wood to prepare it for the final finish. Staining then provides the necessary UV protection and color depth to enhance fence color for years to come.
Choose Restoration Methods Based on Wood Age and Surface Condition
The condition of your fence dictates the intensity of the work required. We recommend performing a hidden-board test to see how the wood reacts to different solutions before treating the entire structure. This simple step ensures you choose the right path for your specific investment.
When Gentle Cleaning Is Enough
If your fence shows only minor surface dust or light pollen buildup, a gentle cleaning is often sufficient. This approach preserves the existing patina while refreshing the overall appearance. It is the best way to maintain the wood without unnecessary chemical intervention.
When Deep Cleaning and Brightening Are Necessary
When you notice significant graying or organic growth, deep cleaning becomes essential. Brightening is the critical follow-up step that restores the wood's natural acidity. This combination is vital to ensure the stain adheres properly and provides a uniform, golden finish.
When Repairs or Board Replacement Should Come First
Sometimes, the structural integrity of the fence is compromised by rot or loose hardware. In these cases, we prioritize repairs or board replacement before any cleaning or staining begins. Addressing these issues early prevents further damage and ensures a stable surface for your restoration efforts.
| Restoration Stage | Primary Goal | Impact on Appearance |
|---|---|---|
| Cleaning | Remove debris | Restores surface cleanliness |
| Brightening | Neutralize pH | Evens out wood tone |
| Staining | Protect & Color | Enhances fence color |
If you have questions about your specific fence project, please reach out to our team at (703) 261-8228. We are here to help you protect your property investment with expert guidance and proven methods.
Prepare the Work Area and Protect Surrounding Property
We believe that a well-prepared work area is the secret to achieving professional results without damaging your landscape. Taking the time to organize your space ensures that your fence cleaning project remains safe, efficient, and stress-free for everyone involved.
Choose a Dry, Mild-Weather Restoration Window
Timing is everything when you want to restore your wood to its original golden tone. We recommend choosing a day with mild temperatures and overcast skies to avoid the harsh effects of direct sunlight. Intense sun can cause cleaning solutions to dry too quickly, which often leads to uneven dwell times and unsightly streaking on your boards.
Gather a Garden Hose, Soft-Bristle Brush, Pump Sprayer, Cleaner, Brightener, Sandpaper, and Finish
Having the right tools ready before you start prevents unnecessary interruptions. You will need a reliable garden hose, a high-quality pump sprayer for even application, and a soft-bristle brush to scrub away stubborn grime. Ensure you have your chosen wood cleaner, brightener, and finish on hand, along with sandpaper for any necessary surface repairs.
Protect Plants, Soil, Siding, Concrete, and Outdoor Furniture
Your property is a significant investment, and we prioritize its protection during every phase of the process. Before applying any chemicals, thoroughly rinse nearby plants with water and cover them with plastic sheeting to prevent chemical burns. You should also shield your home’s siding, concrete walkways, and outdoor furniture from overspray to maintain the integrity of your entire outdoor space.
Use Gloves, Eye Protection, Long Sleeves, and Proper Ventilation
Safety is our top priority when handling restoration chemicals. Always wear chemical-resistant gloves, safety goggles, and long sleeves to protect your skin and eyes from irritation. If you have questions about specific products or need professional guidance, feel free to contact us at (703) 261-8228.
Why Pressure-Washer Settings Can Damage Fence Boards
Many homeowners mistakenly believe that high pressure is necessary for effective fence cleaning. However, excessive pressure can permanently etch the wood fibers, creating deep grooves that trap dirt and moisture later on. We advise using only controlled, low-pressure rinsing with a wide fan pattern to preserve the wood's natural texture and structural health.
| Preparation Task | Equipment Needed | Safety/Protection Goal |
|---|---|---|
| Surface Clearing | Broom or leaf blower | Remove loose debris |
| Vegetation Shielding | Plastic drop cloths | Prevent chemical runoff |
| Chemical Application | Pump sprayer | Ensure even coverage |
| Personal Safety | Gloves and goggles | Avoid skin/eye contact |
Clean Away Dirt, Gray Wood Fibers, and Organic Growth
We believe that a deep, professional-grade fence cleaning is the most critical step in your restoration journey. By removing the accumulated layers of environmental debris, you prepare the wood to accept treatments that will bring back its original, vibrant character.
Remove Loose Debris Before Applying Any Cleaner
Before introducing any liquid solutions, you must clear the surface of loose obstacles. Use a soft-bristle brush or a leaf blower to remove cobwebs, loose dirt, and dried leaves that could trap moisture or interfere with the cleaning process.
Apply a Wood-Safe Fence Cleaning Solution
We strongly recommend using a sodium metasilicate-based cleaner rather than harsh chlorine bleach. While bleach might seem effective, it often strips the wood of its natural color, damages delicate fibers, and can corrode your metal hardware. Choosing the right chemistry protects your investment for years to come.
Scrub Along the Grain Without Gouging the Surface
Once the solution has dwelled for the manufacturer-recommended time, use a soft-bristle brush to agitate the surface. Always scrub along the grain to avoid damaging the wood fibers. If you find yourself struggling with stubborn spots, please reach out to our team at (703) 261-8228 for professional guidance.
Rinse Thoroughly From Top to Bottom
Rinsing is a vital phase of the fence cleaning process. Start at the top of each board and work your way down to ensure that all chemical residue and loosened debris are completely washed away.
Handle Mold, Mildew, and Algae Without Spreading Contamination
When dealing with biological growth, containment is essential. Ensure that your runoff is directed away from sensitive garden beds and lawn areas to prevent cross-contamination.
- Use a mild, eco-friendly biocide.
- Keep the area damp to prevent spores from becoming airborne.
- Rinse surrounding vegetation with fresh water immediately after cleaning.
Correct Common Cleaning Mistakes That Cause Fuzzing and Etching
Many homeowners inadvertently damage their fences by using excessive pressure or incorrect dilution ratios. Avoid these common pitfalls:
- Never use high-pressure settings that cause "fuzzing" or wood fiber lifting.
- Do not allow the cleaning solution to dry on the surface, as this causes etching.
- Always maintain a consistent, wet edge during the application.
Brighten the Wood and Repair Surface Damage
Restoring the natural warmth of your fence involves a critical phase of chemical neutralization and surface refinement. After the initial cleaning, the wood fibers often remain slightly alkaline, which can interfere with the absorption of protective finishes. Engaging in proper fence restoration ensures that your wood is chemically balanced and physically prepared for the final stages of the project.
Use a Wood Brightener to Neutralize Cleaner Residue and Restore Warmth
A high-quality wood brightener acts as a neutralizing agent that reverses the darkening effect caused by many cleaning solutions. By restoring the natural pH balance of the wood, you effectively draw out the underlying golden tones that have been hidden by years of weathering. This step is essential for achieving a uniform, professional appearance.
Apply Brightener Evenly to Prevent Patchy Color
Consistency is the key to a beautiful finish. We recommend applying the brightener using a pump sprayer, working in manageable sections to ensure the solution does not dry prematurely. Always maintain a wet edge to prevent lap marks, which can lead to unsightly, patchy color once the stain is applied.
Rinse and Allow the Fence to Dry Completely
Thorough rinsing is non-negotiable to remove all chemical residues. Once rinsed, the wood must dry completely before you proceed with any sanding or fence staining. In shaded or humid conditions, this may require 24 to 48 hours of drying time to ensure moisture levels are low enough for proper product adhesion.
Sand Raised Grain, Rough Spots, and Discolored Areas
Once the wood is dry, you may notice raised grain or stubborn rough patches. Using medium-grit sandpaper, gently smooth these areas to create a uniform surface. This process not only improves the aesthetic appeal but also ensures that the stain penetrates evenly across the entire fence.
Repair Loose Boards, Nails, Gates, Posts, and Rot Before Staining
Before finalizing your fence repair, conduct a thorough inspection of the structural components. Tighten loose boards, ensure gates swing freely, and check that posts are stable. If you encounter issues that seem beyond your scope, feel free to contact our team at (703) 261-8228 for expert guidance.
Know When a Board Has Too Much Rot to Save
Not every board can be salvaged. If you find sections with extensive soft, spongy fibers, it is best to replace the board entirely. Sealing over rot will only trap moisture, leading to further decay and structural failure over time.
Replace Damaged Fasteners With Exterior-Rated Hardware
Corroded nails or screws can cause dark streaks and weaken the fence structure. Always replace damaged fasteners with high-quality, exterior-rated hardware designed to withstand the elements. This simple step significantly extends the life of your investment.
Apply a Stain That Enhances the Fence’s Golden Tone
The transformation of your fence reaches its peak when you select and apply the ideal stain to protect and beautify the wood. Proper fence staining is not merely about aesthetics; it is a critical barrier against the harsh realities of the American climate. By choosing the right product, you can effectively enhance fence color while ensuring your investment remains structurally sound for years to come.
Choose a Penetrating Exterior Wood Stain With UV and Moisture Protection
We always recommend using a high-quality, penetrating oil-based stain. Unlike film-forming products that sit on the surface and eventually peel, penetrating stains soak deep into the wood fibers. This provides essential UV protection and moisture resistance from within, which is vital for maintaining that rich, golden tone.
Compare Transparent, Semi-Transparent, and Solid Stains
Selecting the right opacity is essential for your desired finish. Each type offers different levels of protection and visual impact, as outlined in the table below.
| Stain Type | Grain Visibility | UV Resistance | Maintenance |
|---|---|---|---|
| Transparent | High | Low | Frequent |
| Semi-Transparent | Moderate | High | Moderate |
| Solid | None | Very High | Long-term |
Test the Stain on an Inconspicuous Area
Before committing to the entire fence, perform a test on a small, hidden board. Wood species like cedar, redwood, and pine absorb pigments differently, and the same product can look unique on each surface. Testing ensures you are satisfied with the final color before you proceed with the full application.
Apply Thin, Even Coats With the Grain
Always apply the stain in thin, even coats following the direction of the wood grain. Over-application is a common mistake that leads to sticky surfaces and uneven drying. If you have questions about specific products, feel free to call us at (703) 261-8228 for expert guidance.
Maintain a Wet Edge and Blend Work Sections
To achieve a professional look, you must maintain a "wet edge" by working on one board at a time from top to bottom. This technique prevents the stain from drying prematurely, which causes unsightly lap marks. Blending your sections seamlessly is the hallmark of a high-quality finish.
Prevent Lap Marks, Drips, Overapplication, and Uneven Absorption
Lap marks occur when you overlap dry stain with fresh product. You can avoid this by keeping your brush or sprayer moving consistently. If drips occur, wipe them away immediately with a clean rag to prevent dark, blotchy spots.
Coat End Grain, Cut Edges, Rails, and Post Tops Carefully
Pay extra attention to these porous areas to ensure they receive adequate protection. Neglecting the end grain often leads to early rot and moisture intrusion.
Follow the Product’s Recoat and Drying Requirements
Patience is a virtue when it comes to wood care. Always adhere strictly to the manufacturer’s drying times before applying a second coat or allowing foot traffic near the fence. Rushing this process can compromise the integrity of the finish and diminish the overall beauty of your restored fence.
Protect the Restored Finish From Future Weathering
We believe that protecting your investment is a continuous process that extends well beyond the initial restoration. While a high-quality stain provides a necessary barrier, consistent fence maintenance is the true secret to long-term success. By managing environmental factors, you can effectively preserve fence appearance for years to come.
Seal Vulnerable Areas Against Rain and Ground Moisture
Wood is naturally porous, and moisture often enters through the most exposed parts of your structure. We recommend paying close attention to post tops and the end grain of your boards, as these areas act like sponges for rainwater. Applying a high-quality sealant to these specific points prevents water from wicking into the center of the wood.
Improve Drainage and Keep Soil Away From Fence Boards
Proper wood fence care requires that you keep the bottom of your fence boards clear of soil, mulch, and debris. When wood remains in direct contact with damp earth, it creates a perfect environment for rot and fungal growth. Ensure that your landscaping slopes away from the fence line to promote effective drainage during heavy rain.
Trim Vegetation to Increase Airflow Around the Fence
Stagnant air and trapped humidity are the primary enemies of a healthy fence. We suggest trimming back any shrubs, vines, or tall grasses that press against the wood surface. This simple step allows air to circulate freely, which helps the wood dry out quickly after a storm.
Inspect the Finish After Seasonal Weather Changes
Your fence faces different challenges throughout the year, from intense summer UV rays to freezing winter moisture. We encourage you to perform a visual inspection at the start of every new season. Look for signs of water absorption, such as darkening wood, or early indicators of mildew return.
Recognize When a Fresh Coat of Stain Is Needed
Even the best finishes will eventually show signs of wear. You should look for fading color, peeling, or areas where the wood grain appears dry and exposed. If you notice these issues, it is time to consider a maintenance coat to keep your property looking its best. For professional guidance or to schedule an inspection, please reach out to us at (703) 261-8228.
Build a Fence Maintenance Schedule That Preserves Color
A beautiful fence is not a static object but a living part of your landscape that needs regular attention. By establishing a consistent routine, you protect your investment and ensure the wood retains its natural, vibrant character for years to come.
Perform Monthly Visual Checks for Dirt, Growth, and Damage
We recommend walking the perimeter of your property once a month to inspect the condition of your boards. Look closely for early signs of Gloeocapsa magma, mold, or accumulated debris that might trap moisture against the wood surface. Early detection is the cornerstone of effective fence maintenance, allowing you to address minor issues before they evolve into costly structural problems.
Clean the Fence Gently at Least Once Each Year
Even a well-sealed fence benefits from a thorough, gentle cleaning at least once every twelve months. Using a mild, wood-safe solution helps remove the microscopic pollutants and organic buildup that dull the wood's natural golden glow. This simple act prevents the long-term degradation of the finish and keeps the surface looking fresh.
Recheck High-Sun and High-Moisture Sections More Frequently
Not every part of your fence faces the same environmental stress. Areas exposed to intense afternoon sun or those located near damp, shaded soil require more frequent observation. You may find that these specific sections need a touch-up or a specialized treatment to prevent premature graying or rot.
Document Repairs and Staining Dates for Long-Term Wood Fence Care
Keeping a detailed log of your maintenance history is a professional habit that pays off. Record the specific product used, the color code, the date of application, and any fence repair work performed. This data helps you predict when the next coat of stain is necessary, keeping your wood healthy and protected.
| Wood Type | Typical Maintenance Cycle | Primary Concern |
|---|---|---|
| Cedar | Every 2 Years | UV Fading |
| Pressure-Treated | Every 3 Years | Moisture Absorption |
| Redwood | Every 2 Years | Surface Oxidation |
Signs That Professional Fence Restoration Is the Safer Choice
Sometimes, the damage goes beyond what a standard homeowner can safely manage. If you notice widespread rot, unstable posts, or extensive peeling that suggests a deeper failure of the wood fibers, it is time to consult an expert. We also recommend professional intervention if you are unsure whether a full replacement is more cost-effective than a restoration project.
Call (703) 261-8228 for Help Protecting the Fence’s Long-Term Value
Protecting your property value is a serious responsibility, and you do not have to navigate it alone. If you have concerns about the structural integrity of your fence or need guidance on the best restoration methods, please reach out to our team. You can call (703) 261-8228 today to speak with a specialist dedicated to preserving the health and beauty of your investment.
Conclusion
A gray fence does not signal a failed structure. Often, this discoloration represents a superficial layer of oxidation resting atop perfectly sound wood fibers. Careful inspection remains the vital first step before you apply any treatment to your property.
We believe in a systematic approach to restore your outdoor space. By diagnosing the wood condition, cleaning, brightening, and applying compatible stains, you create a robust barrier against the elements. This science-based path allows you to preserve fence appearance while safeguarding your long-term property investment.
Consistent maintenance prevents minor issues from becoming costly repairs. We encourage you to reach out to us at (703) 261-8228 when your fence requires professional evaluation. Our team provides manufacturer-approved restoration methods and maintenance plans tailored specifically to your wood species and local exposure conditions.
Frequently Asked Questions
While a pressure washer can be used, we strongly advise extreme caution. High pressure can easily "etch" the wood, tearing the fibers and creating a fuzzy texture that ruins the preserve fence appearance goal. We prefer using a low-pressure rinse combined with a high-quality fence cleaning solution like sodium metasilicate to lift dirt and oxidation safely.
For optimal wood fence care, we recommend a light maintenance cleaning annually and a fresh coat of penetrating stain every two to three years. Cedar generally requires more frequent attention than pressure-treated lumber to maintain that specific "golden" glow before it turns gray again.
A high-quality semi-transparent stain will enhance fence color by masking the remaining gray tones while still allowing the natural wood grain to show through. However, the gray fibers should be chemically and physically removed during the fence restoration stage first for the best aesthetic result.
Absolutely. Staining over rot or loose boards only hides the problem temporarily while the damage continues underneath. We always recommend completing any necessary fence repair, such as replacing damaged pickets or reinforcing posts, before applying any protective finish.
Generally, the process takes three to four days of clear weather. One day is dedicated to deep fence cleaning and brightening, followed by at least 48 hours of drying time. The final day is reserved for the application of the stain, ensuring it has a dry surface to penetrate effectively.
Shaded areas are prone to moisture retention and biological growth. To protect these sections, ensure you trim back vegetation to increase airflow and use a stain with high-quality mildewcides. Regular inspections are key to identifying mold return before it compromises the wood.
© 2026 All Rights Reserved